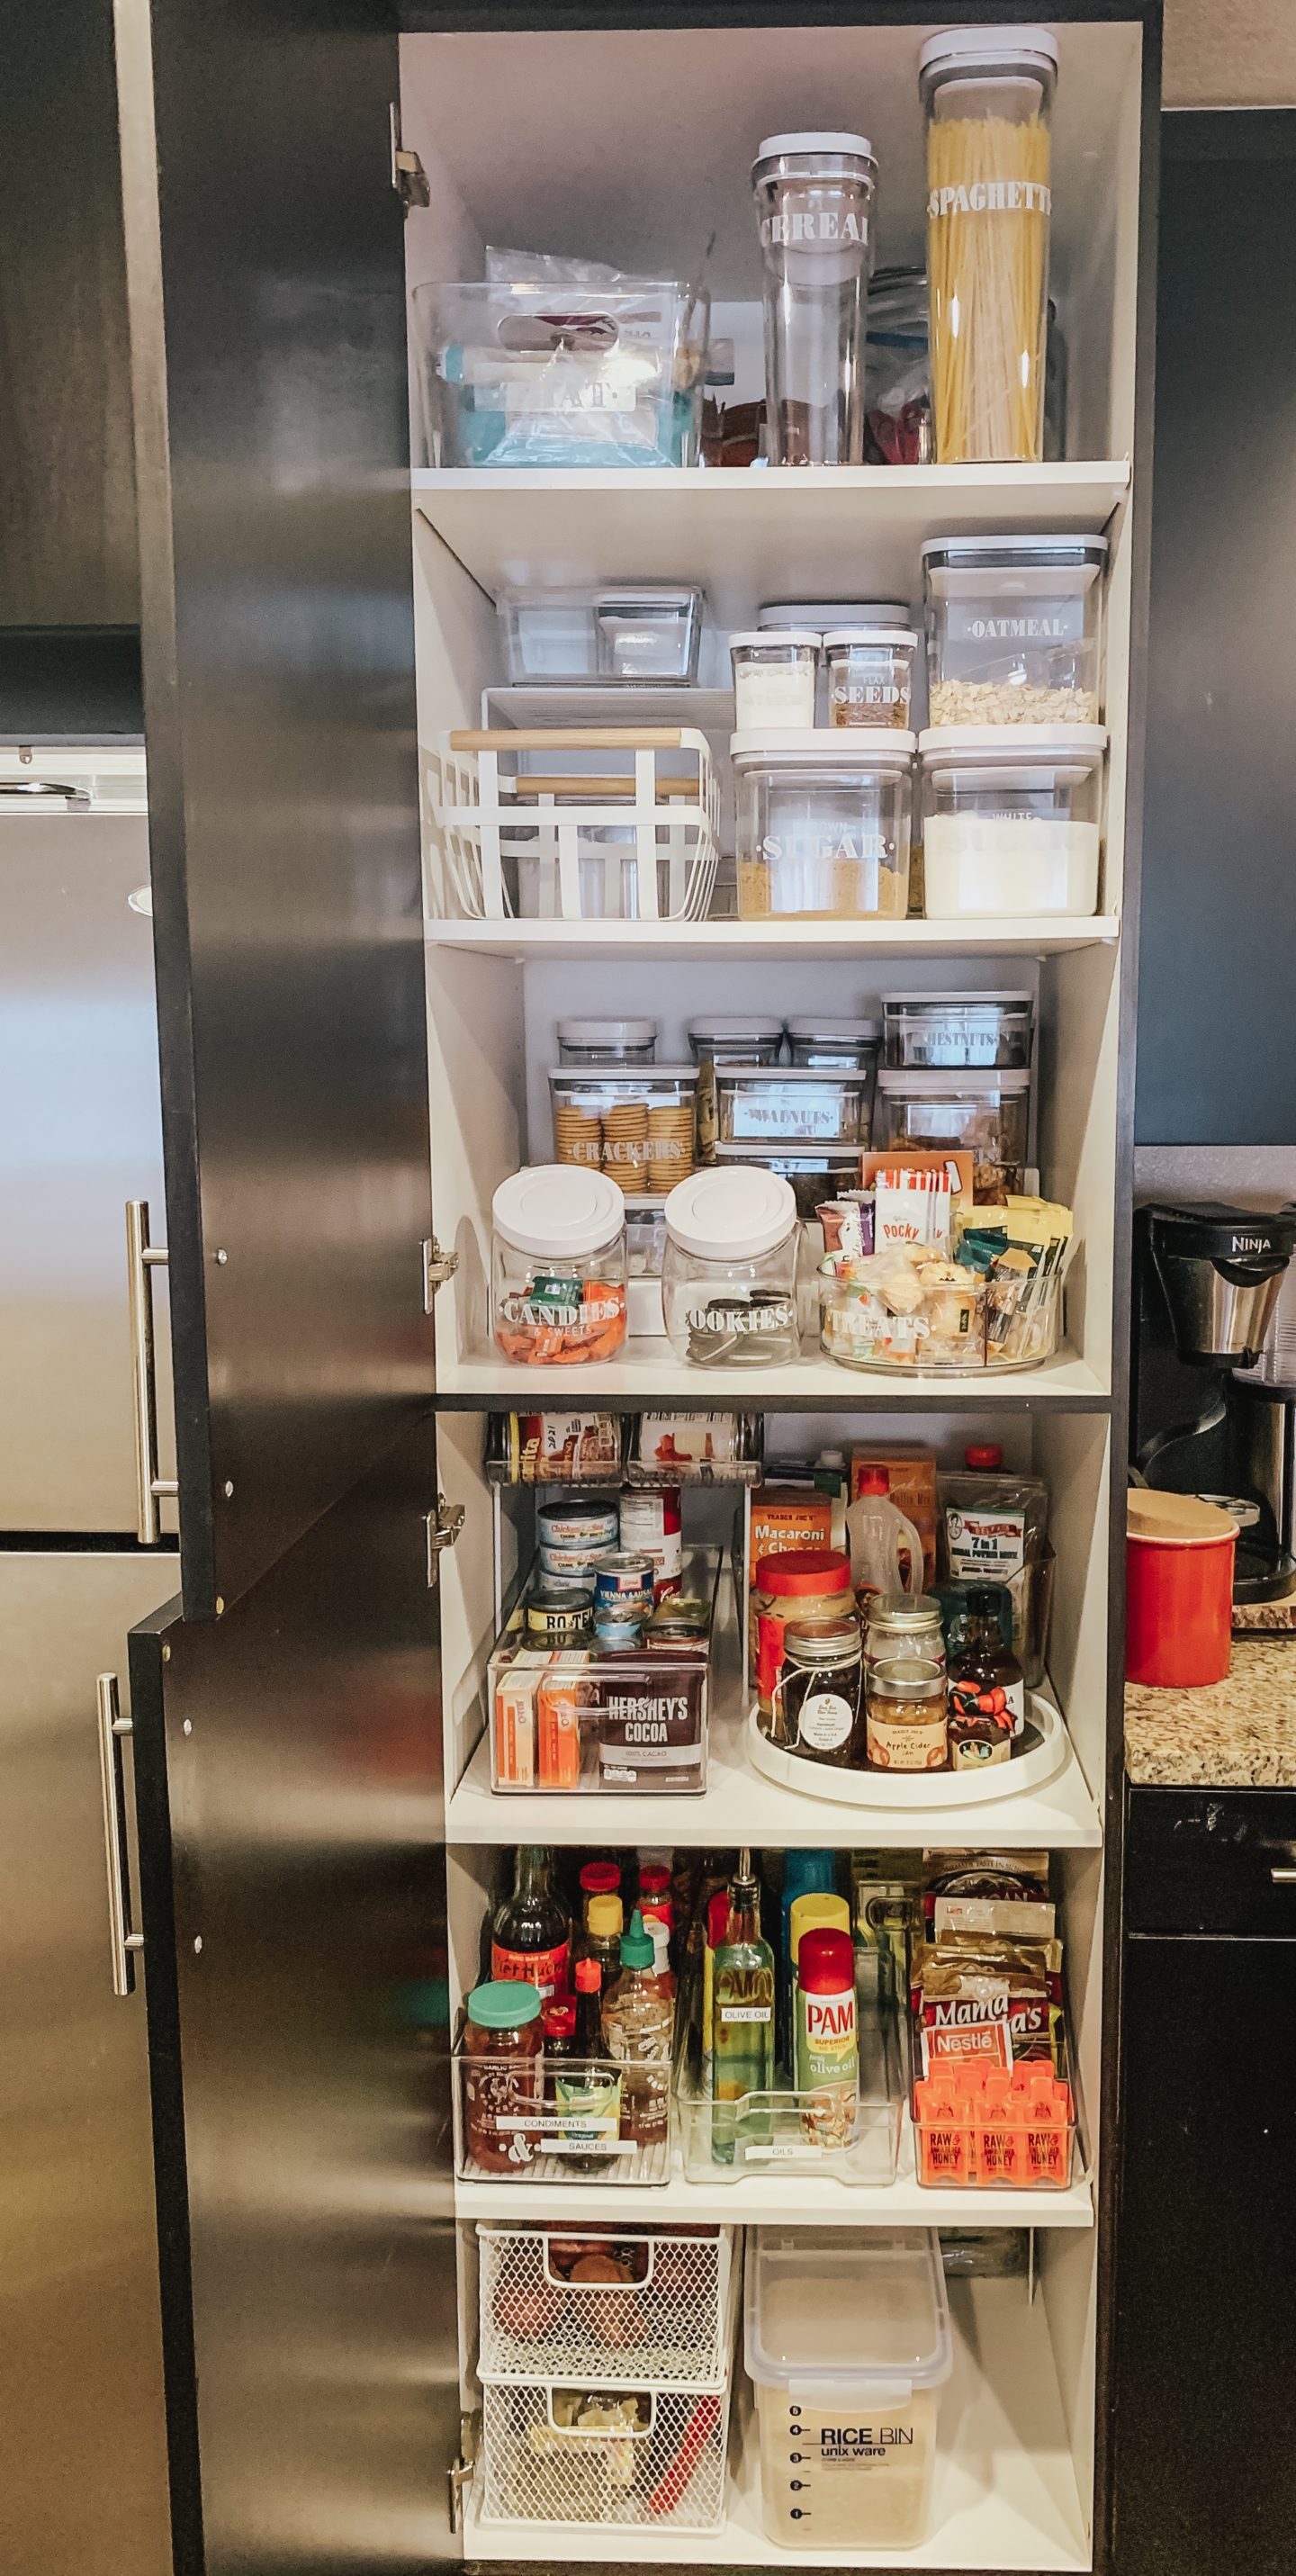
Eeeeekkkk you guys I did it! I finally organized our pantry!! Trust me this has been such an ongoing project of mine that I never really got to finish. I keep telling myself that I will get to it when I have time or when I’m not busy. So….. 100 youtube videos later, endless pinning on Pinterest and after reading Home Edit book as if I was to take my Nursing boards again hahah I finally did it!
Step 1 – Measure your cabinets.
– This step is so important! so you can plan and figure out what size of containers you will be using and how much space you have to work with.
Step 2 – Clean out your pantry.
– I mean it! TOSS everything that is expired, or stale! If its been there for a month toss! because if you waited that long to eat it? it means you will never eat it!! ahaha. I am such a snacker and trust me i got full from trying every unfinished bag of chips haha. Like what Elsa says… Let it go… yes i quoted Elsa. LOL
– After emptying your pantry, clean the area with a multipurpose cleaner and start fresh.
BEFORE CLEAN UP
(it’s still giving me Anxiety just by looking at it hahah)
Step 3 – Make a list of the container that you will potentially use.
– For example…you need a bin for Flour, sugar, etc. Baskets for dinner boxes, chips or beverage.
Step 4 – The fun part…. SHOPPING! lol.
– After 4 or more trips to The Container Store and Homegoods. I honestly bought extra bins with different sizes, and again before going to the store know what specific size containers you will use and buy variations of bins and baskets to save you multiple trips to the store. You can always return whatever you don’t use. So SAVE YOUR RECEIPTS!
– I have been stalking Pinterest and admiring the aesthetic of the pantry using this specific brand container. They are a little pricey but it is so durable and the quality is just so great that I know we will for sure use it in the long run. Trust me guys it is WORTH every penny!
– I mostly purchased my containers, bins and baskets at The Container Store. I love it so much because they have everyyything! From the smallest containers to the deep bins that we need for our deep cabinets.
Homegoods also carry OXO containers but they don’t have as wide selection compare to the Container Store.
Step 5 – Label your bins!
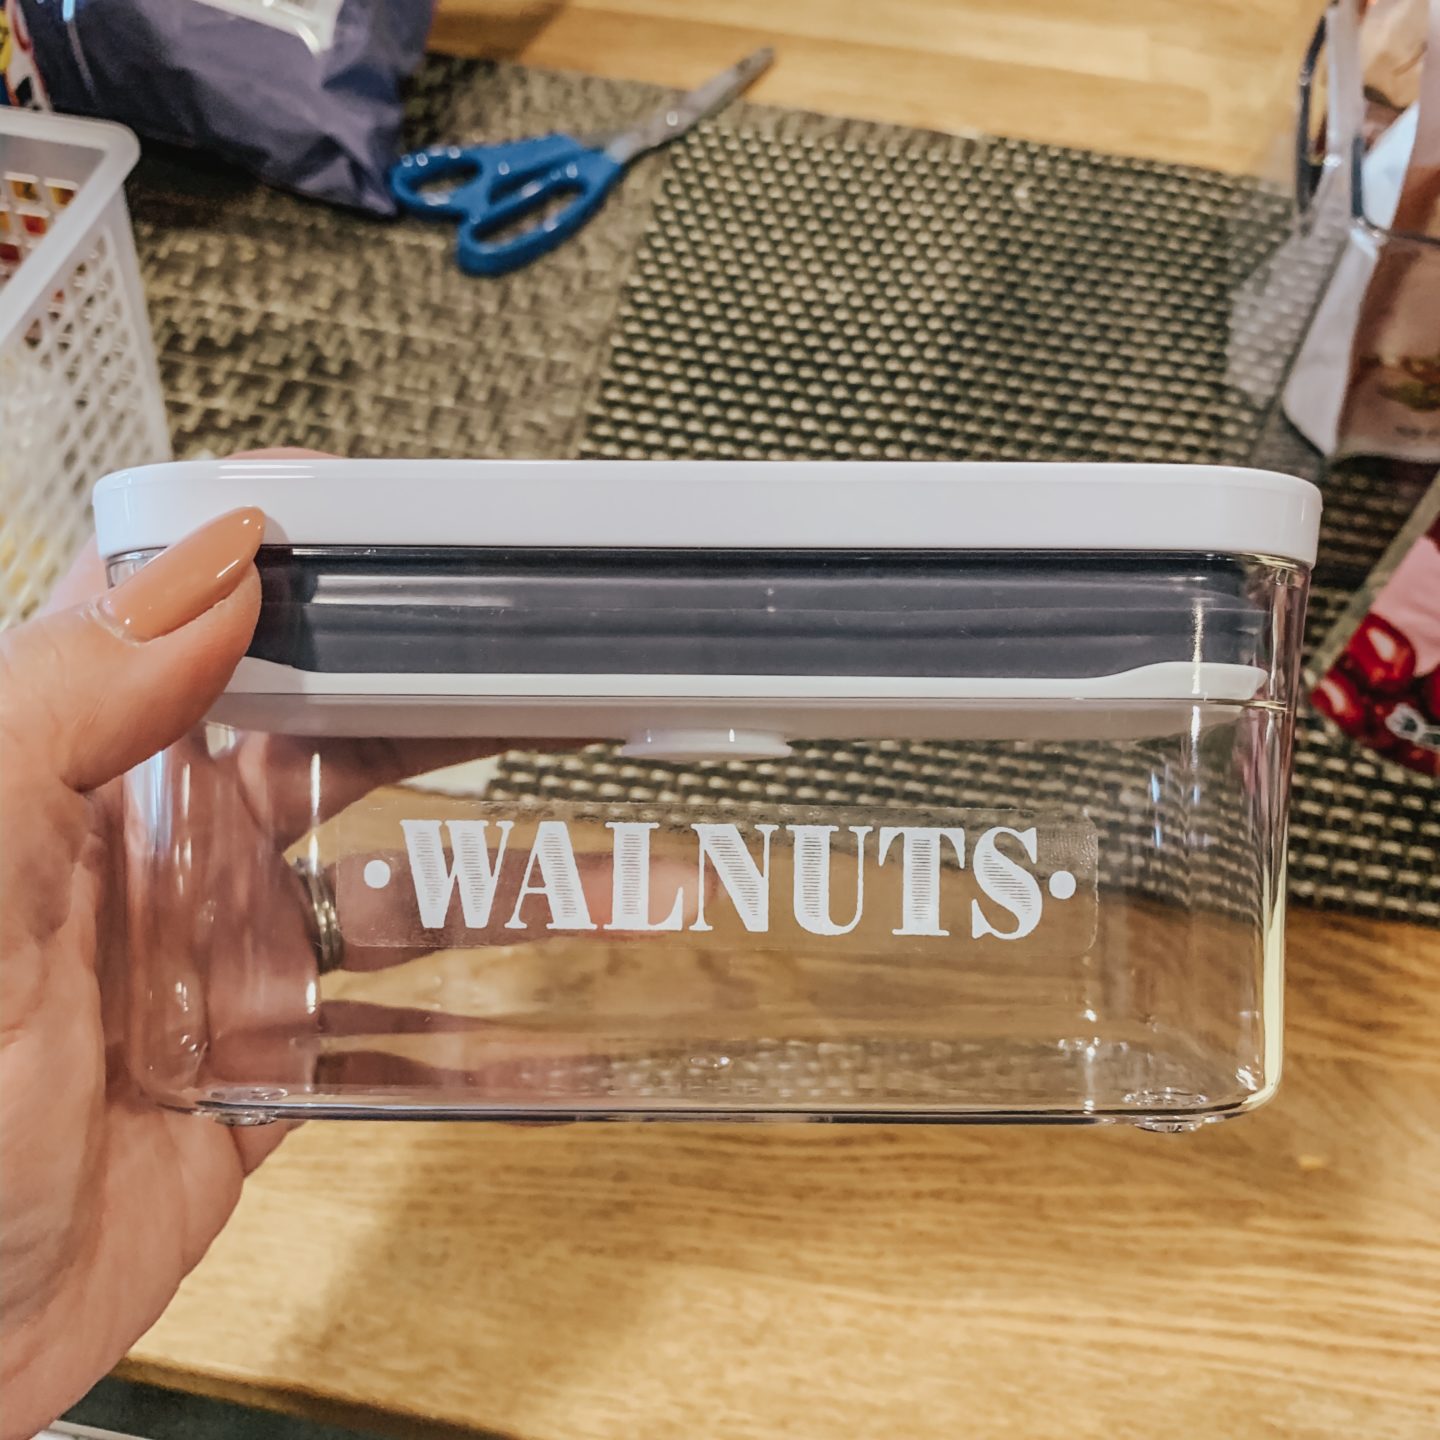
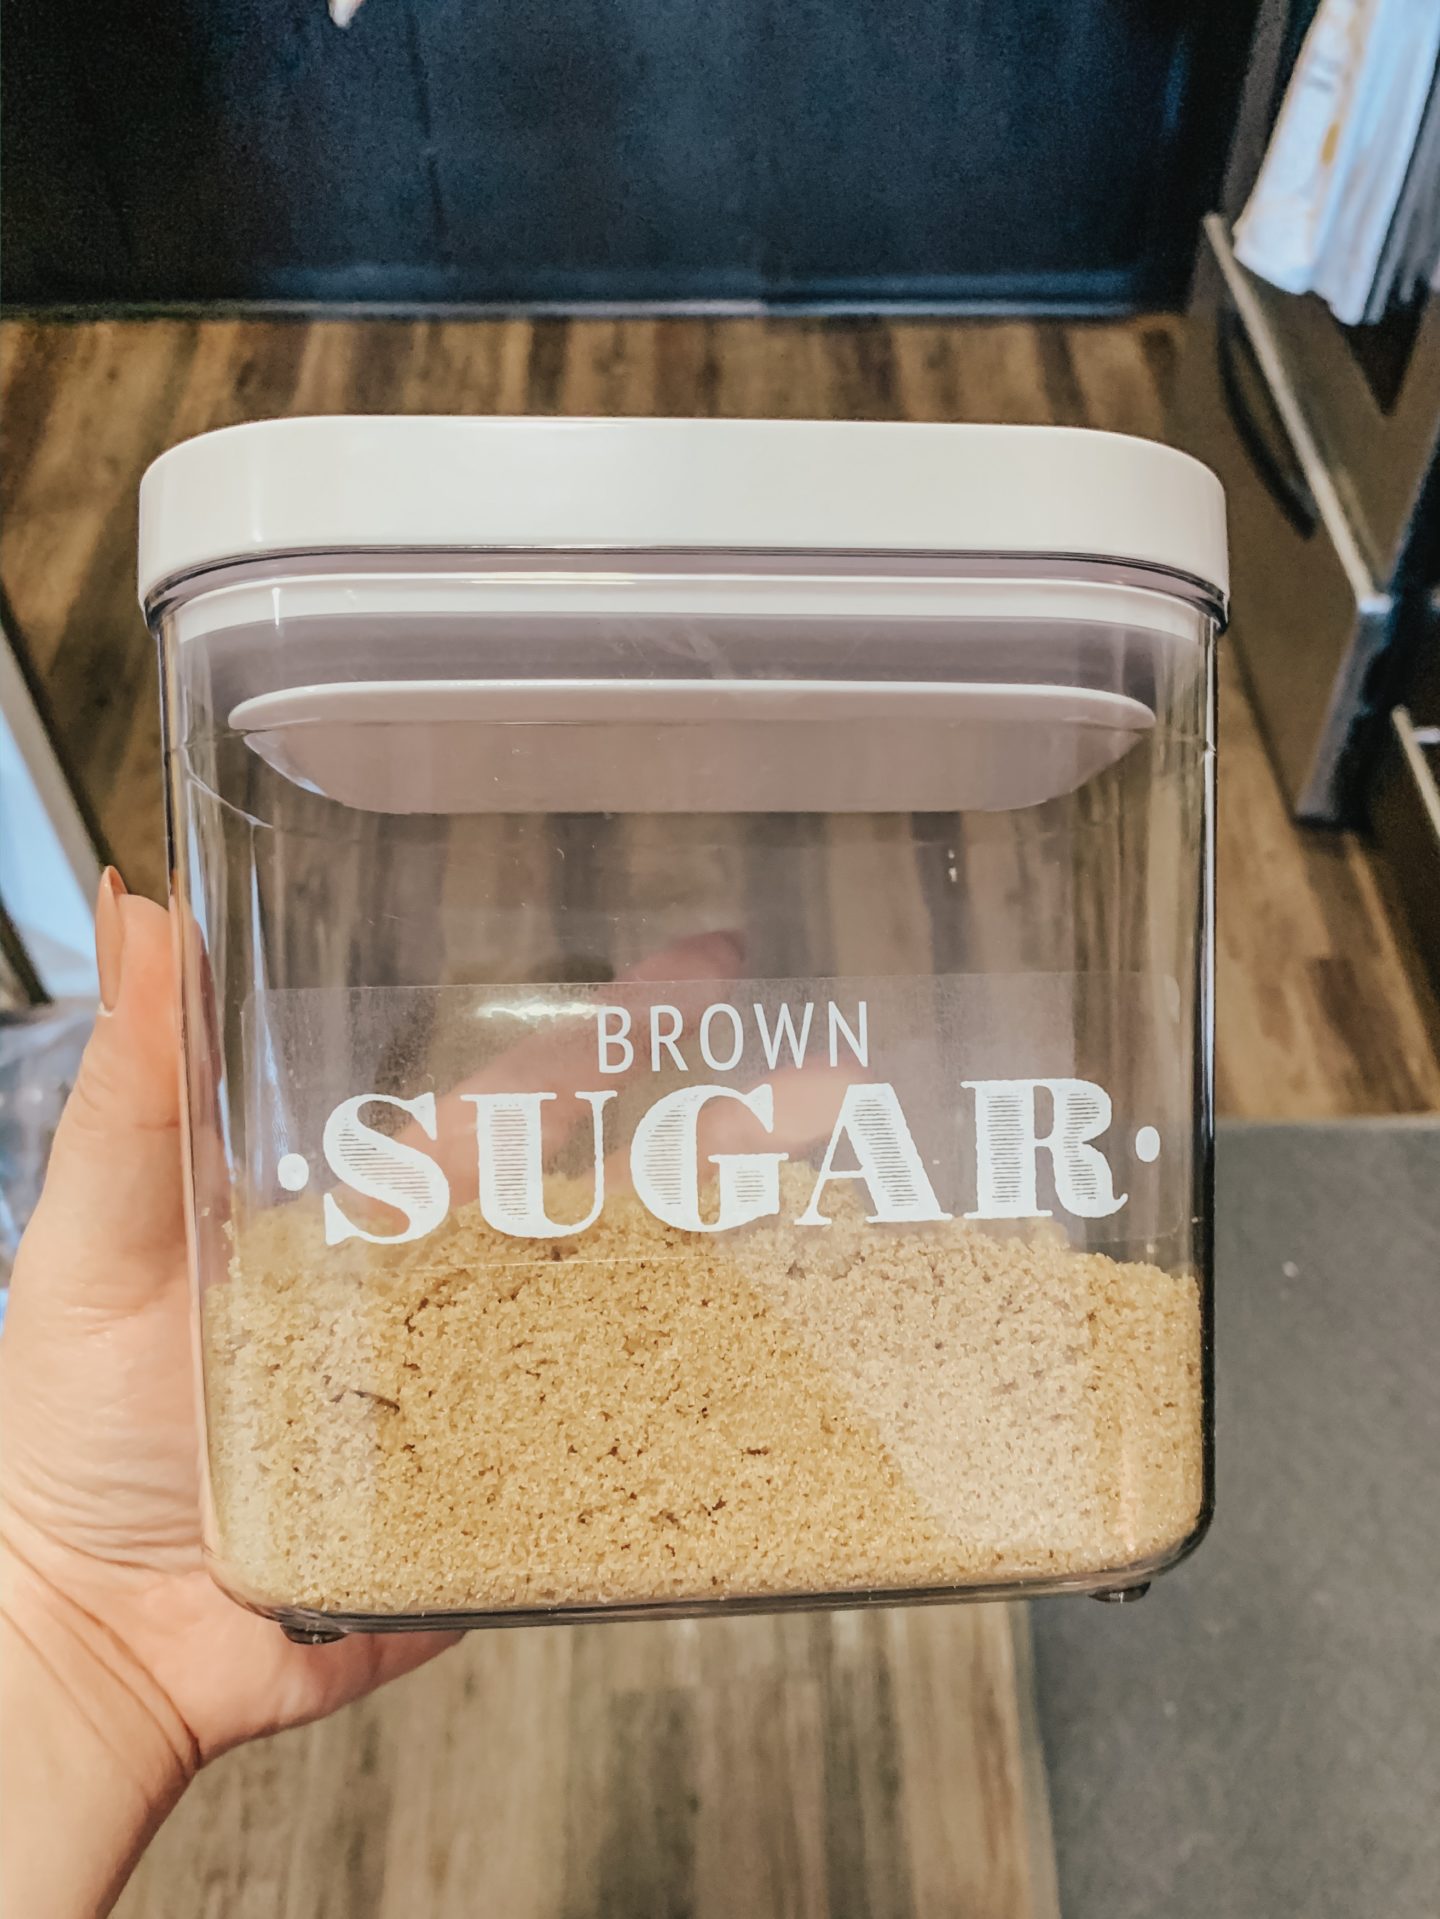
– You guys I absolutely LOVE the labels from Talented Kitchen! They have so many variations of labels with different fonts and styles to choose from. It is easy to peel and it sticks very well and available on AMAZON!
– I mainly labeled the bins that I know I will not be changing often. Such as flour, sugar, pasta, etc… For our snacks, I labelled the ones that our staple snacks! Nuts, popcorn, crackers, etc…
Labels used : Talented Kitchen
Step 6 – Get to work!!
-Transfer all the goodies into the containers! I used some bins for items such as dinner boxes or big items such as big bags of chips etc..
– So guys, just do what’s best for you and your family and don’t forget to take your time and just HAVE FUN!!!
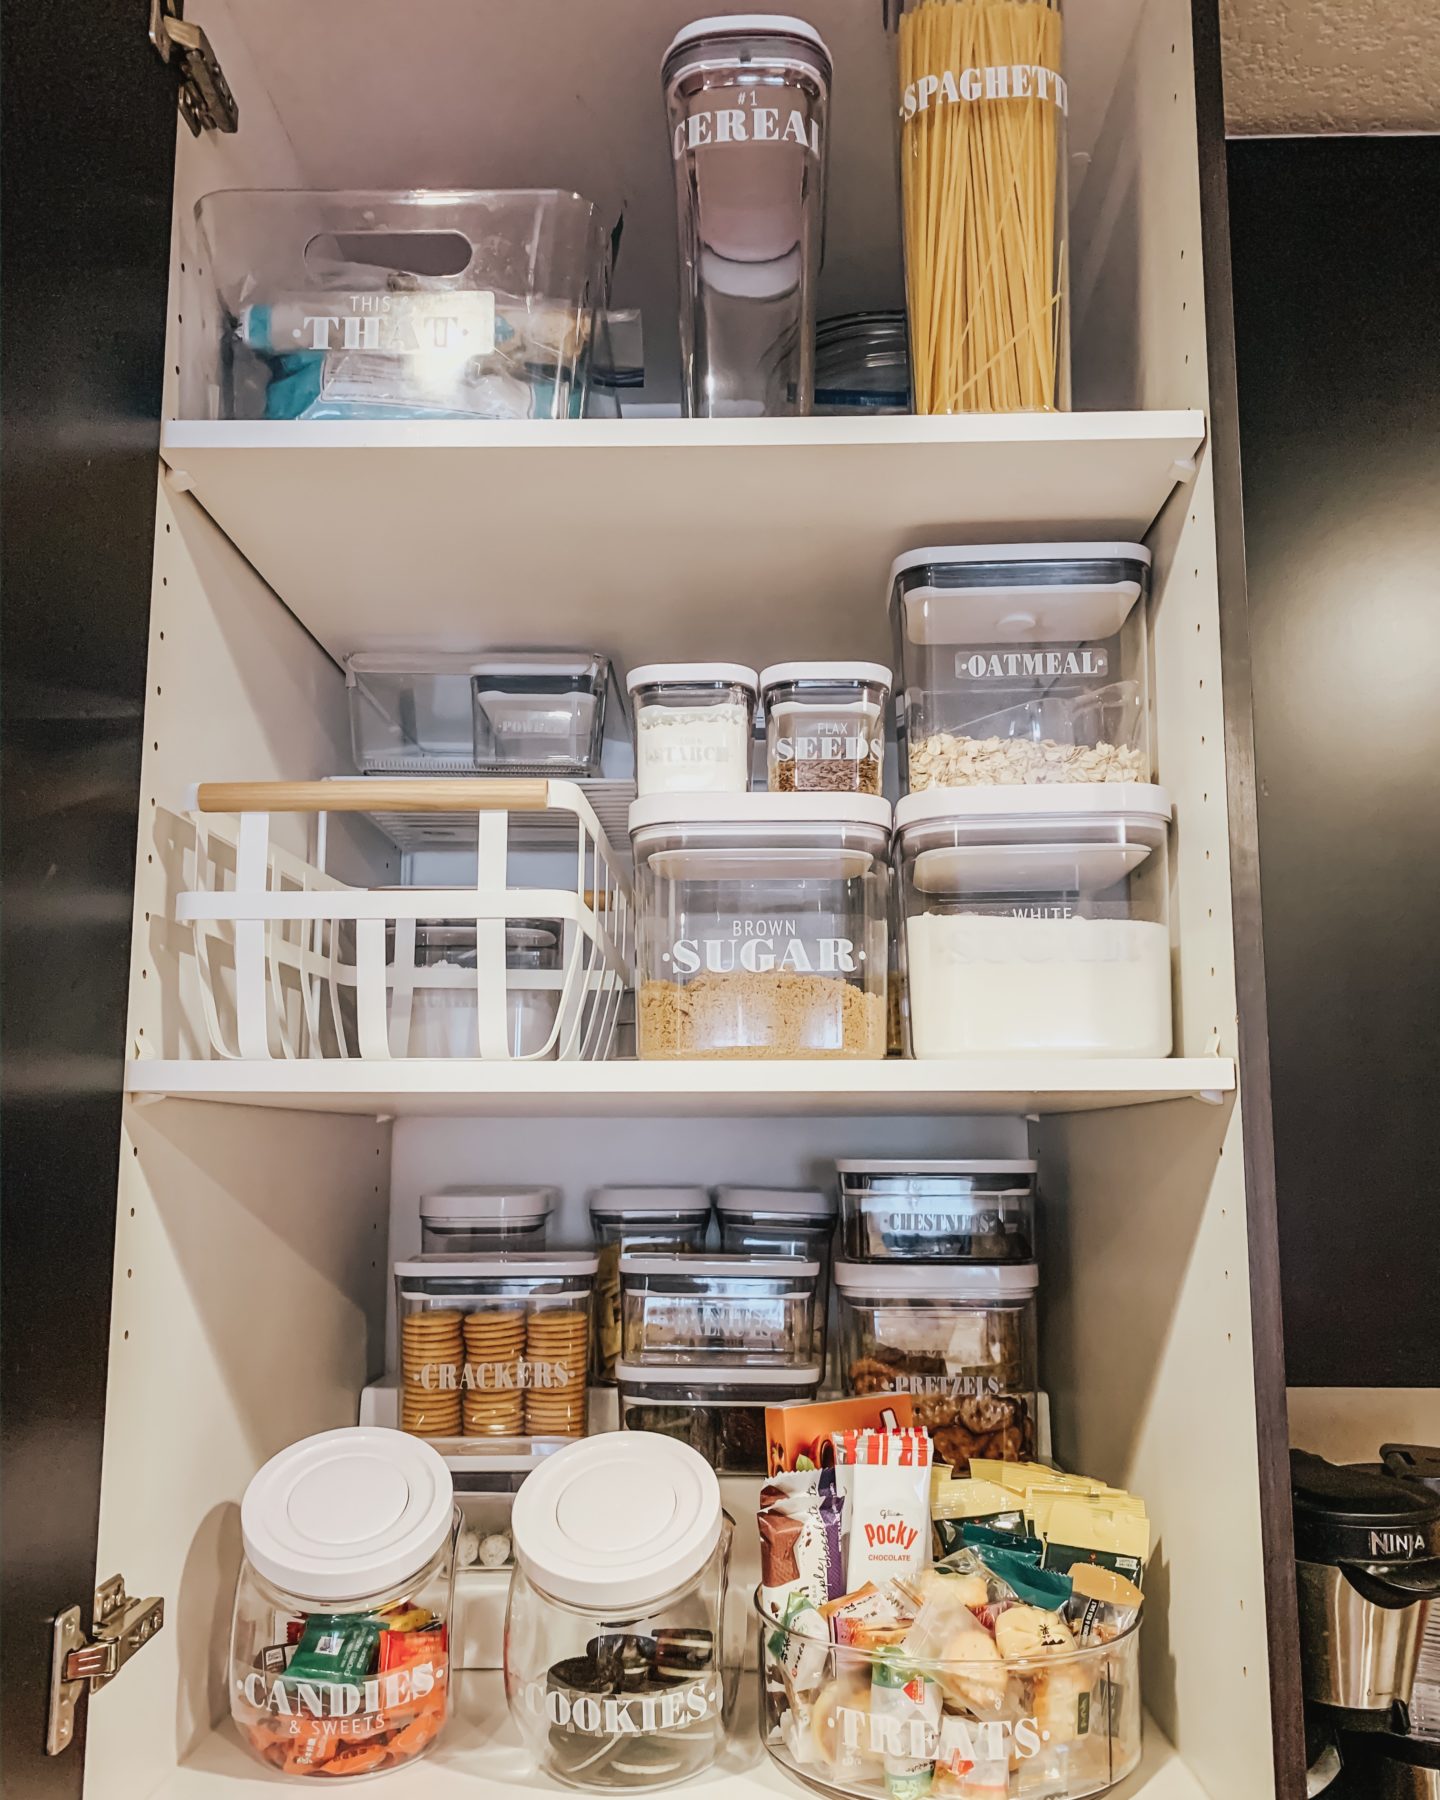
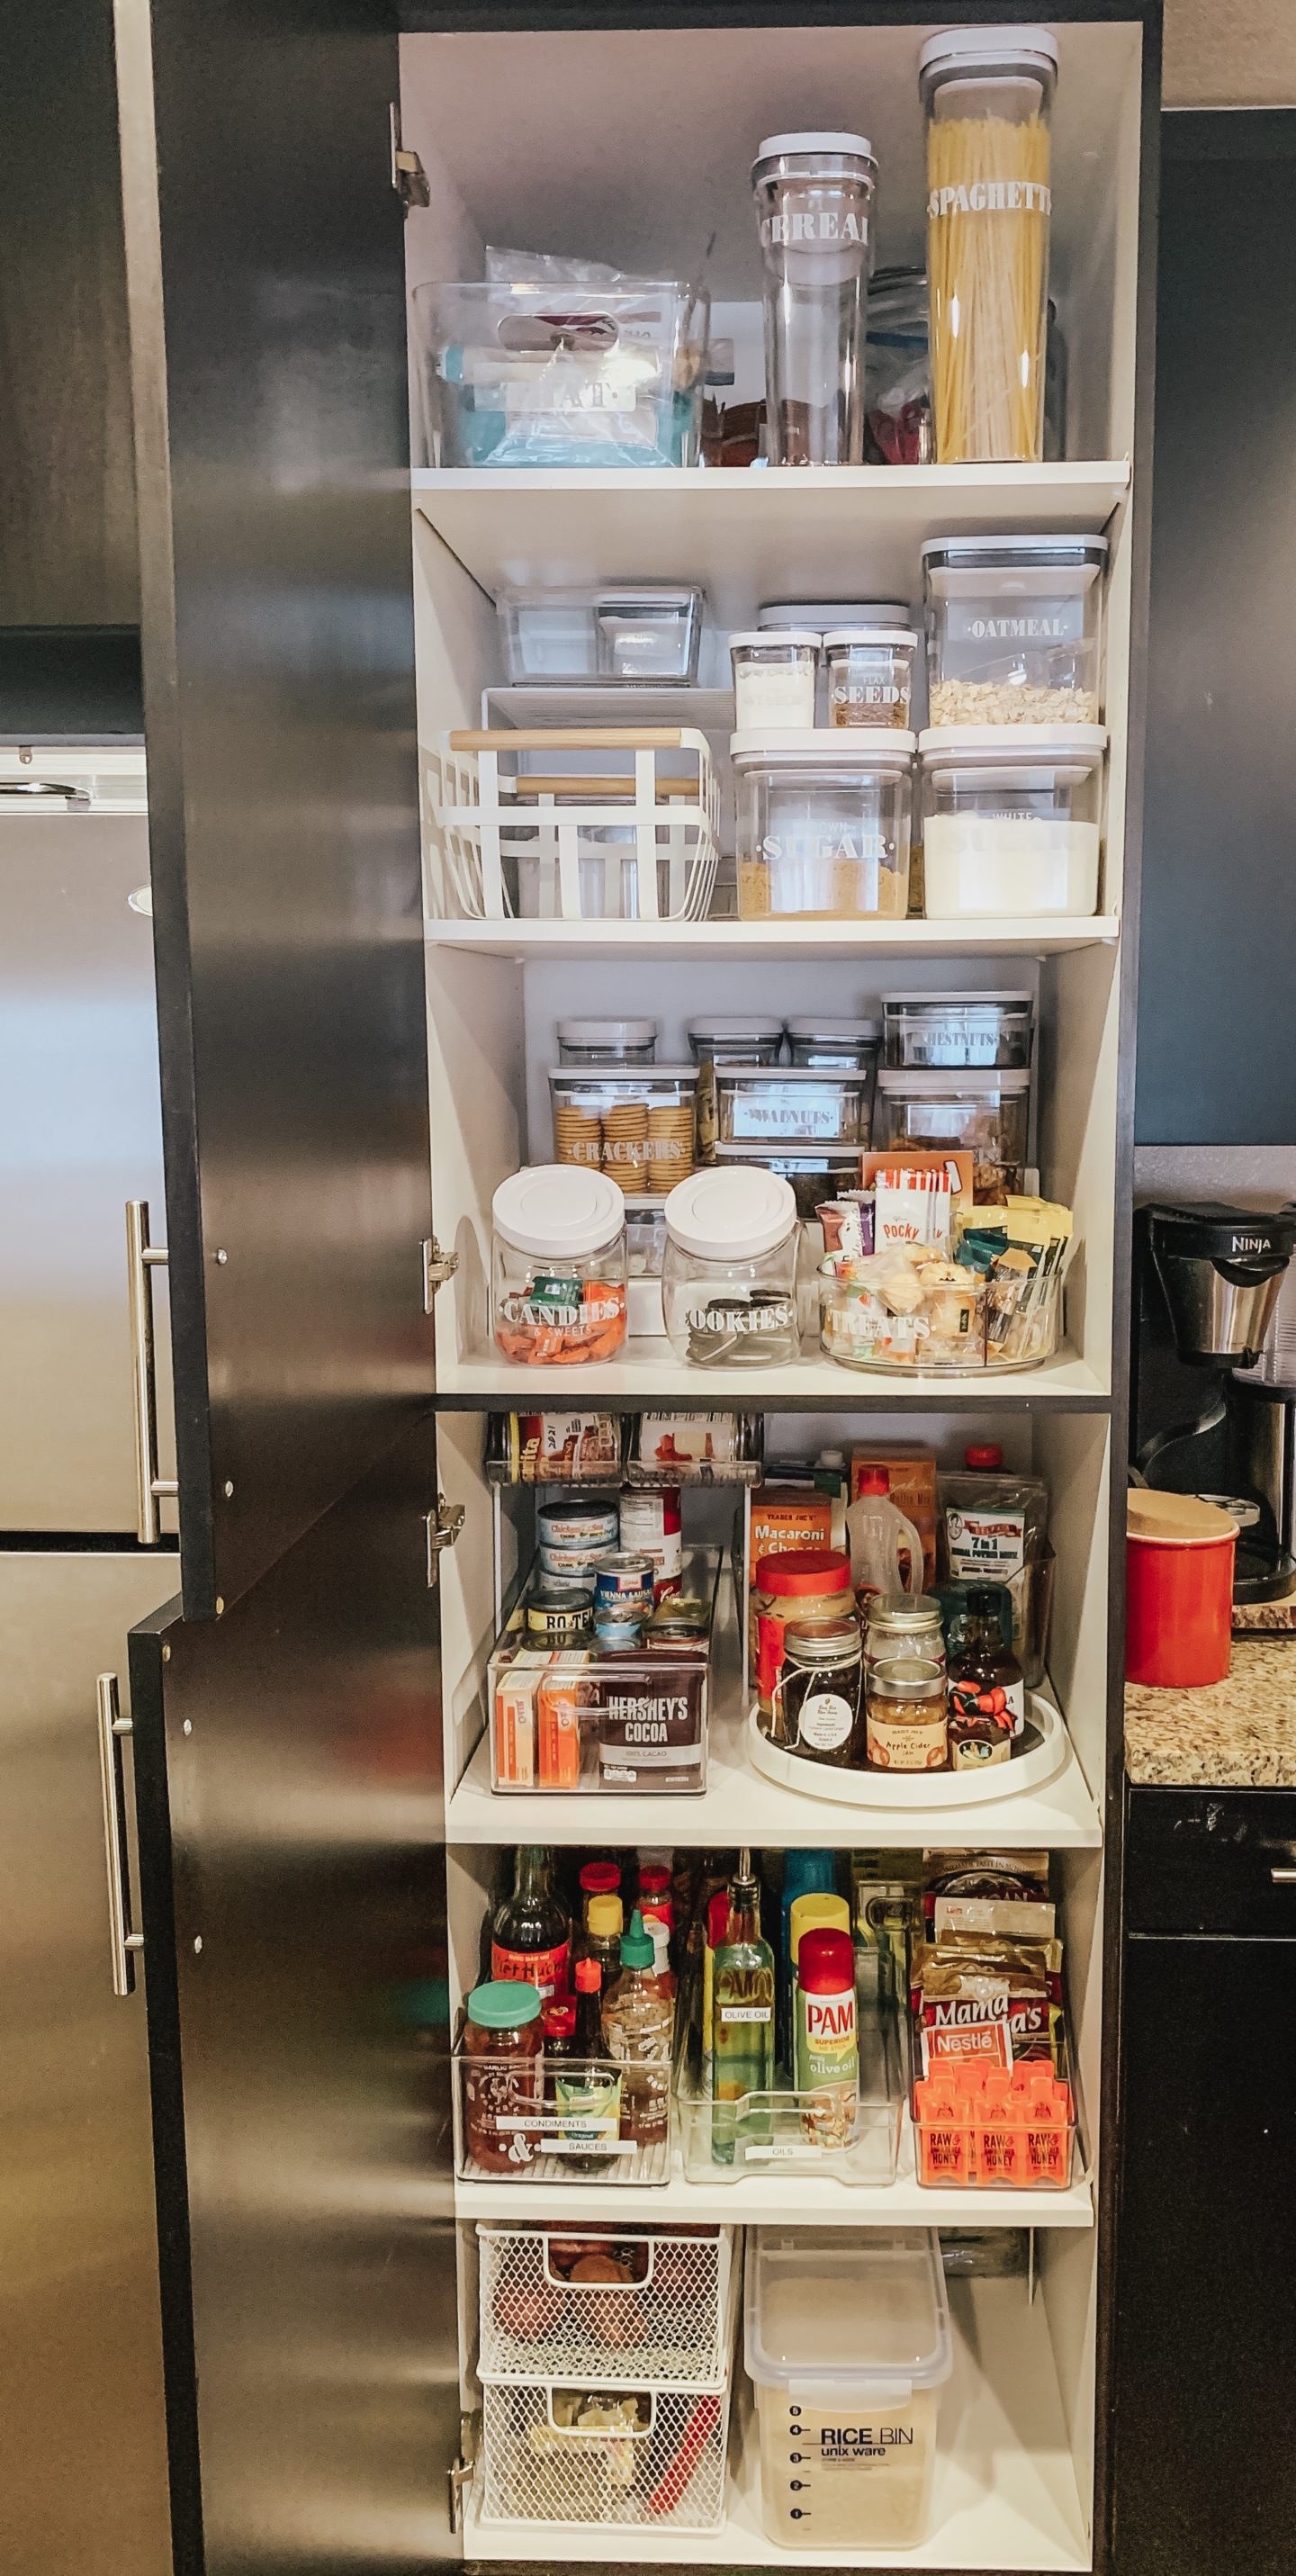
TOP 3 CABINETS
Shelves riser will be your bestie with deep cabinets!! It will definitely help you visualize what’s in the back of your pantry. I also used some WIDE (yes they do come in wide) spice rack holder to elevate the containers.
Oh, and my absolute fave is this Lazy susan!! so perfect for treats and snacks for your kiddos!!
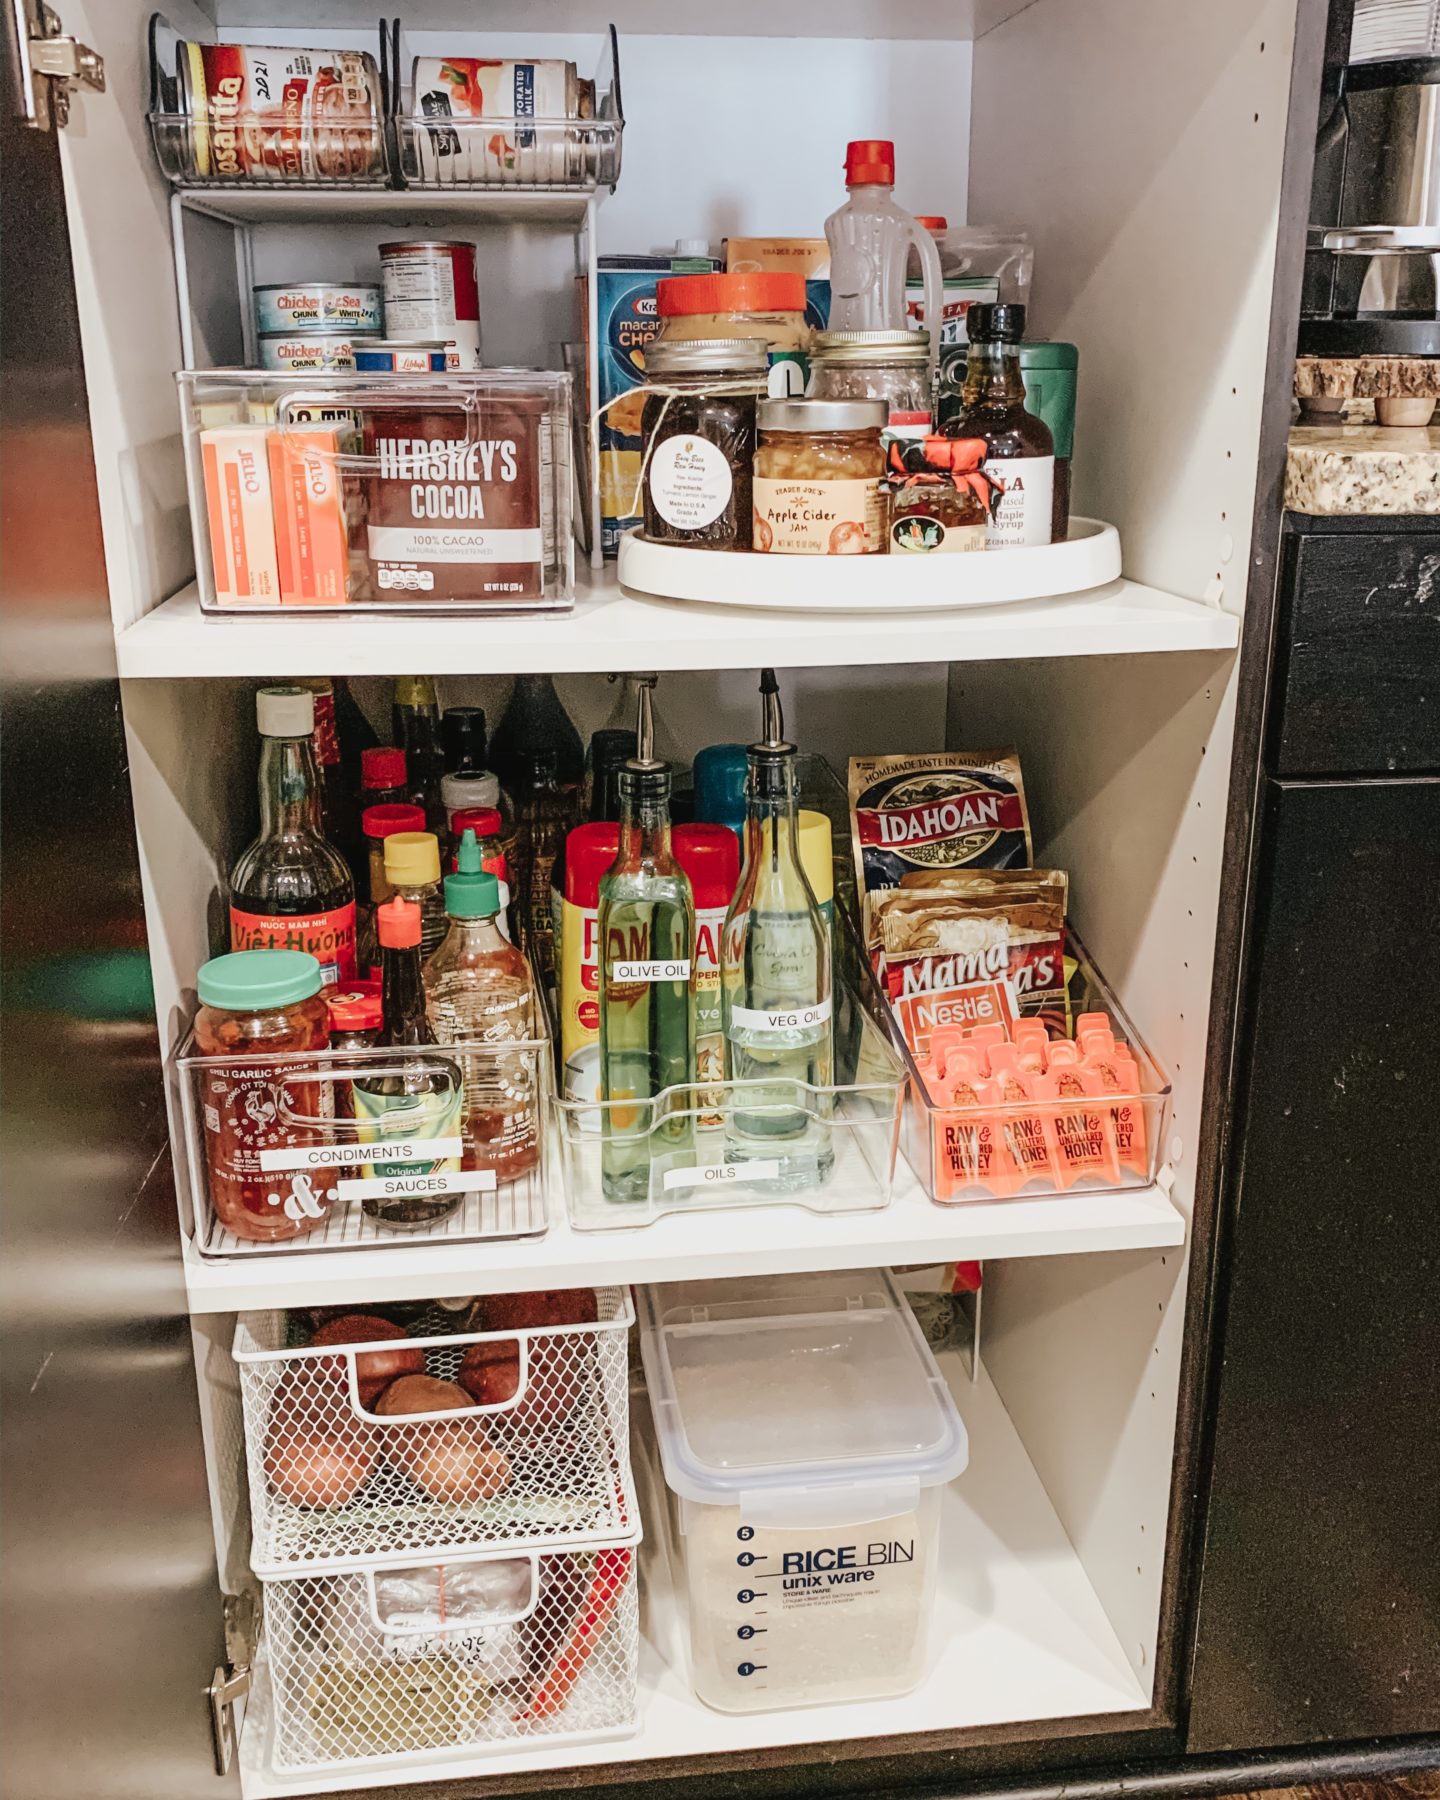
BOTTOM 3 of the Cabinet
We mainly use the bottom part of our cabinet for condiments, canned goods, rice and boxed dinner.
I struggled with finding the most space saver and efficient way to store the canned goods. I used a shelf riser to use up the top space of the cabinets and used soda containers to store the canned goods. I used a long bin made for deep shelves to store the other nonrounded canned goods. And again lazy susan for the win!! So great for storing PB, jams etc..
I also separated our condiments and oil and Spices using more clear bins. This packet organizer is life-changing guys!! No more digging through the basket finding that taco mix!
I then stored more spices, and misc items on the bottom wire basket and placed the onions, and potatoes on the top bins.
If you’re asian then you know how important rice is to our culture haha! It is A MUST! At least in our household. This bin is actually from Mitsuwa (Japanese grocery store) and unfortunately not linkable 🙁
But I will link similar ones down below.
Similar Rice containers:
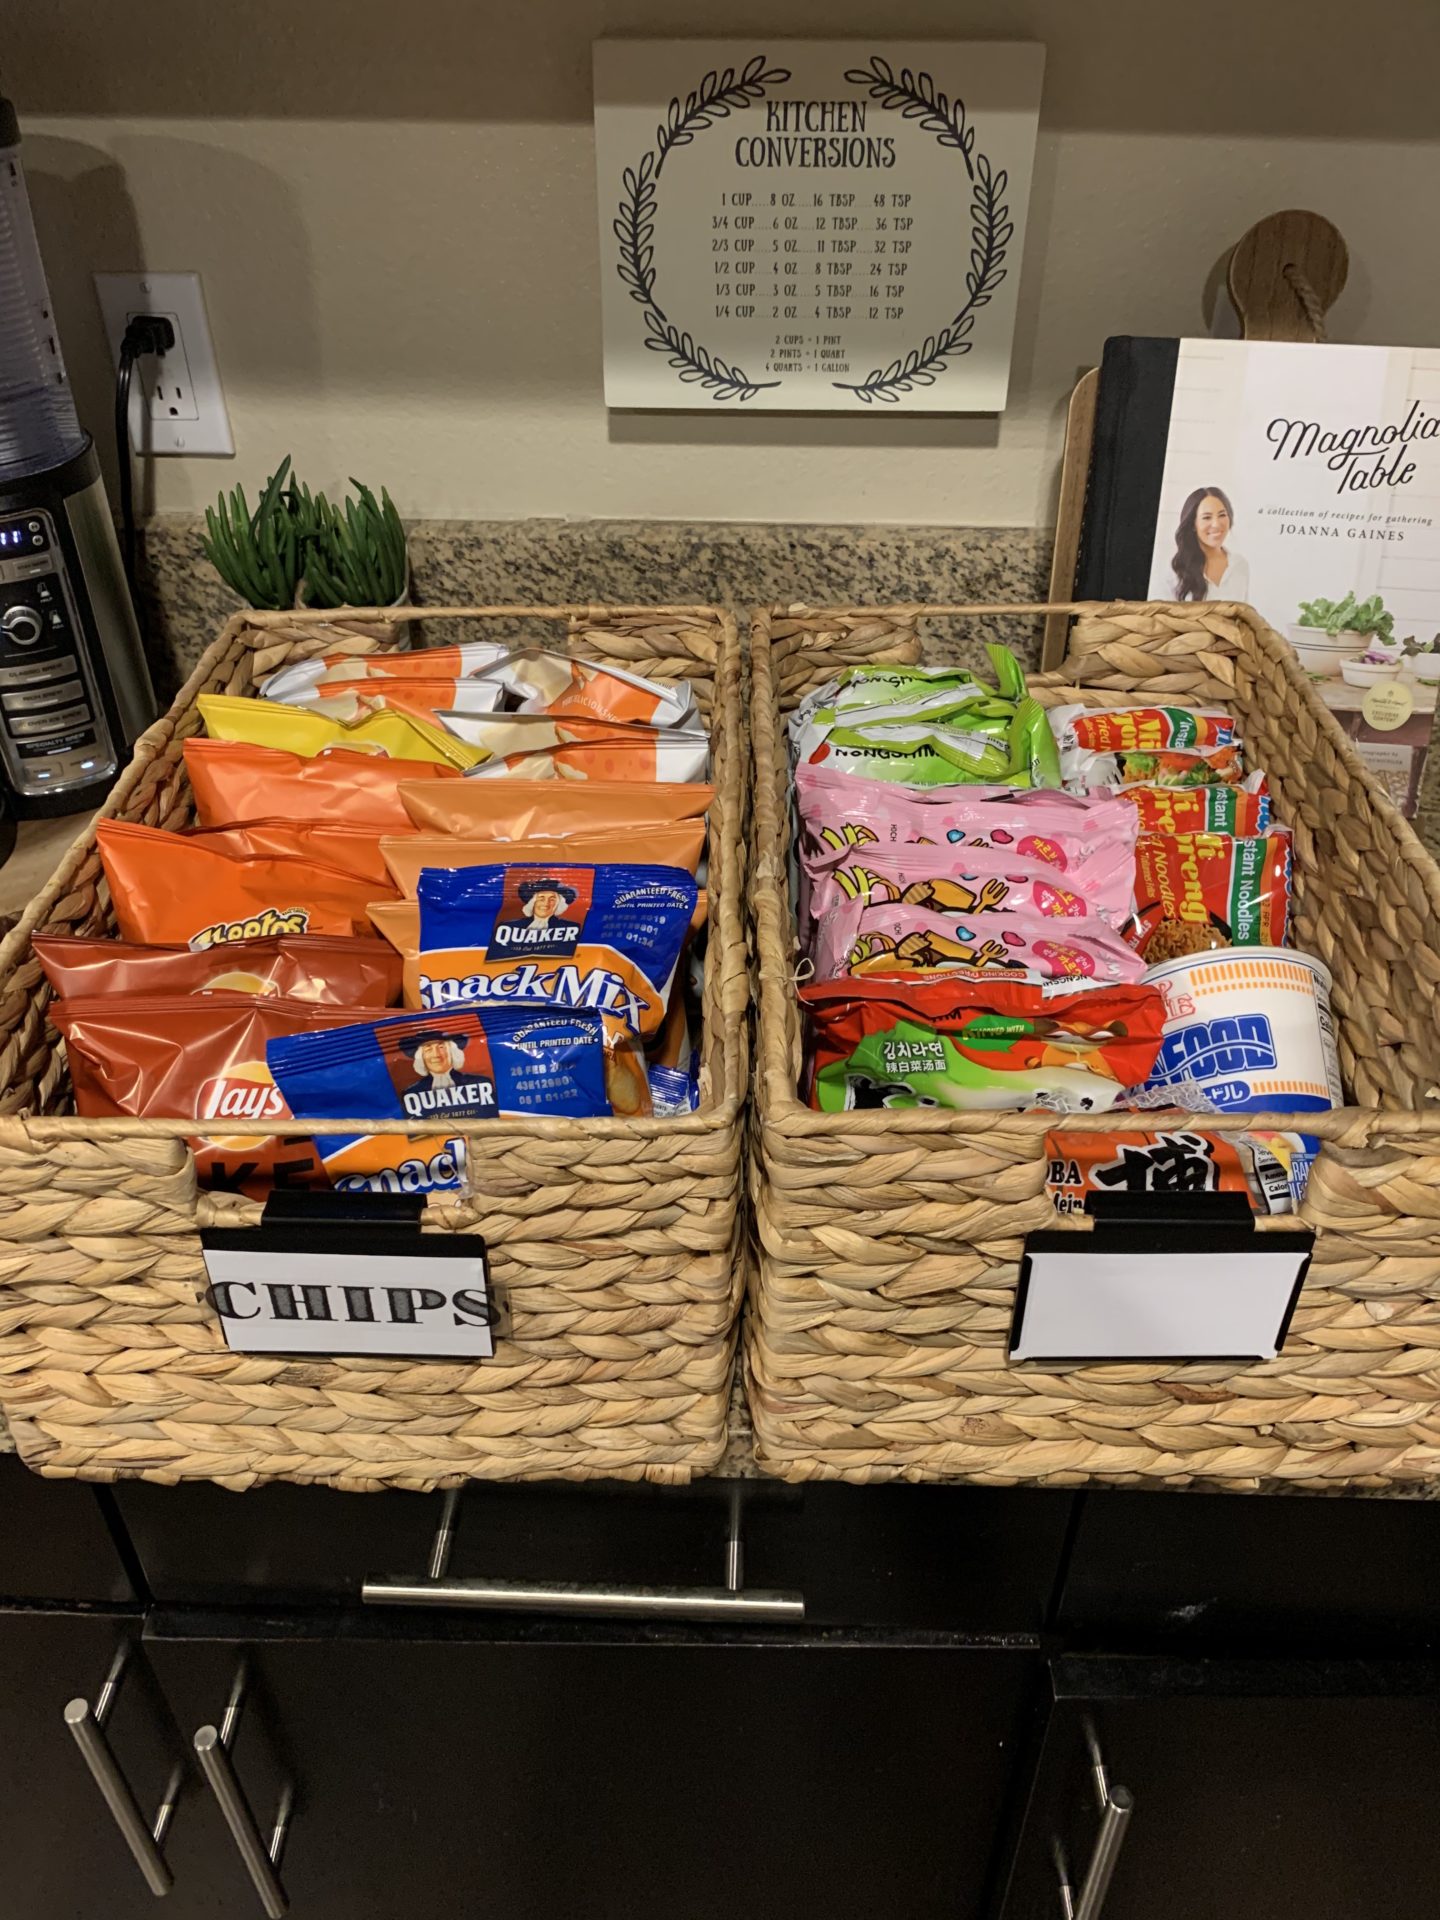
For our chips and noodles, I stored them in these super cute baskets and placed them in the bottom storage of our kitchen island.
There ya have it guys!! I hope you guys like it and I hope this will inspire you with your pantry organization! Thanks for reading and for following along on my IG Story! Please do not hesitate to send me a message on IG or leave a comment down below for questions.
xo, Jill
*** This post is not sponsored and is based on my honest opinion.
Some links are affiliated.

